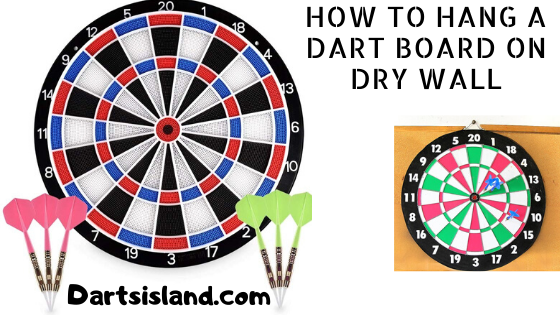
It can be very difficult to securely hang a dartboard on drywall, right? There is hardly any guide on the internet that shows how to do it properly. So, to help you out, in this article,we have written a step by step guide on how to hang a dartboard on drywall. After going through the whole article, you’ll be able to hang your dartboard on drywall perfectly everytime.
So, let’s get started!
Table of Contents
The Process of Hanging a Dartboard on Drywall
For your better understanding, the entire guide has been divided into two parts with their distinct steps. Let’s begin:
Part 1: Planning the location
Step 1:
At first, you have to choose such a place, which is open enough and not congested with other objects. Remember that your chosen place needs to be at least 11 ft. in length and 5 ft. in breadth. Make sure that there is no obstacle along the throwing way. Also, ensure that the area is clear enough so that you can collect the darts after each shot.
However, you mustn’t forget that the spectators will be in need of a quite large space. Keep adequate space just beside the right side of the board so that a scoreboard can be placed properly and everyone can see it clearly.
Step 2:
It is highly unlikely that you’ll be able to make custom floor because of an insufficient budget. In such a case, it is recommended to use a dart mat as it is a complete rubber made mat and designed for protecting the floor. Always save the darts from being dull and also mark the accurate distance from the throwing line.
Keep the following facts in mind and follow these strictly:
- The wooden floor gets punctured very soon especially the area which is closer to the board.
- The points of the darts easily get broken if they fall on tile, concrete or stone floor.
- Carpet becomes fade in no time
- Vinyl and linoleum made floor also tend to have many holes
Step 3:
You might have not paid attention to the leveling of the floor, which is obviously not a serious issue for normal use. But, when the floor is to be used for the hanging of a dartboard, you must inspect whether it is level or not. There are some floors, which slope after some months or years, or the flooring may wind up. However, in the case of using a dart mat, you can make any compensation.
Step 4:
Now, it is time to place the dartboard on an isolated and secured place, which is away from any inlet and areas surrounded by fragile objects. This is necessary to avoid any kind of injury while playing the game. You must also follow this to avoid the unexpected breaking of any of your favorite or expensive things.
For further preparation, you should also avoid choosing places that are closer to windows as darts are unpredictable and can ricochet in any direction. It can be a cause of any pedestrian’s serious injury.
Step 5:
It is not certain that the players will always be able to hit the dartboard and so the darts can hit the wall causing it serious damage. In order to avoid such situation, you should use a protective board that can safeguard the wall and its surrounding area. You have the freedom to choose any type of protective board depending on your time and budget.
You need to keep the following facts in mind:
- In case of your inability to buy any protective board, you can use a large piece of plywood, cork, or foam.
- You can find protective boards and complete cabinets available at the local hobby or sports stores.
- It is wise to use a high backboard with a measurement of 4-inch height and 3-inch width as the novices normally miss below the dartboard.
Learn the art and science of Dart Throwing Stances here
Part 2: Hanging and Marking
Step 1:
According to the official rules and regulations, the position of ‘bullseye’ needs to be 5 ft. and 8-inch high from the ground. If there is a hanging board from the pinnacle, you need to calculate the distance from the center of bullseye to the hanger at first. Then, add 5 ft. and 8-inch to the distance for getting the accurate height where the dartboard is going to be hung.
Note that- if there is an encasing cabinet for the protection of the dartboard, then calculate the distance from the highest supporting point to the bullseye’s center to add it to that 5 ft. and 8-inch. You must center the board within the cabinet.
Step 2:
Secondly, you should set the ‘countersink’ towards your face and keep the supportive board disc at the rear side of the board. Bolt the midpoint hole in the right position followed by other guide hovels.
Step 3:
You need to ensure that the bullseye is at 5 ft. and 8-inches height from the floor. Screw when the mark of the center lines-up with the position of the hole of the wall bracket. Don’t forget to remove it later because you will use it once just to safeguard that the other props are at the same level.
Step 4:
Now, the dartboard needs to be lined up keeping the 20-scoring zone upright when you are placing the dartboard into the wall-prop. Also, make sure that the disc is attached properly.
Step 5:
Lastly, make the toe-line 3 ft. wide and 7 ft. 9.25-inches from the front of an average steel sloped set-up or 8 ft. from a lenient-tipped board.
Know about the best professional dartboards here
Final Words
I hope by now you have a clear idea on how to hang a dartboard on drywall. it is obvious that the procedure of hanging a dartboard on drywall is quite tough and is also a matter of responsibility. Therefore, we humbly recommend you to go through the entire article several times before you get ready to hang your dartboard. Otherwise, it may cause serious physical injury to someone or damage to your wall.